How to change clothes on Imaging Pro
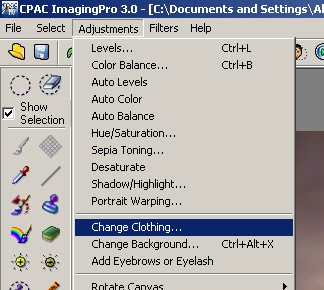
1. To change clothing, go to menu Adjustmenst -> Change Clothing...
The Select Clothing dialog box will be displayed.
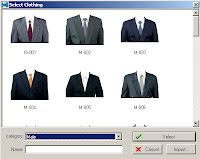
Select the category and the clothing that you would like to apply to the portrait, then click Select
2. The selected clothing will be applied over the portrait.
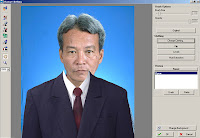
You can use the Free Transform tool to adjust the position, resize, and rotation of the clothing by moving the square box surrounding the clothing.
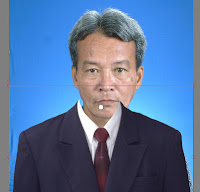
To resize the clothing, click and hold at one corner of the box, and move the mouse pointer to shrink or expand the size. To move the clothing, click and hold in the clothing area box, and move the mouse pointer to the desired position. To rotate the clothing, click and hold at the white circle in the box, and move the mouse pointer to the left or to the right to achieve the desired angle. When complete, click Enter, or double click to finish the transform process.
3. When the clothing is in the desired position:
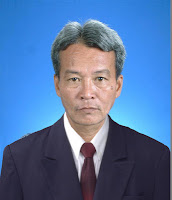
Use the tools on the left toolbar to make furthur adjustment, if needed.
If the clothing exceeds the portrait skin, use the Delete Clothing tool to rub over the exceeding parts of the clothing.
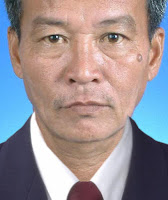
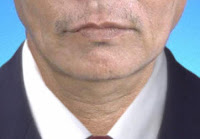
If the original clothing exceeds the new clothing,

Use the Stamp Image tool to stamp over the background, and apply it over the exceeding orginal clothing. This will not have any effect on the new clothing.
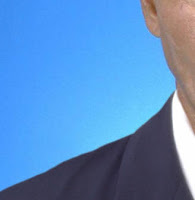
However, you can use the History Brush to undo the erased areas. Another tool is the Stamp Clothing, which you can use to fix the clothing.
4. You can use the various menu functions on the right to manually adjust the clothing.
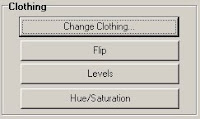
Change Clothing to select a new clothing.
Flip to either flip left or right in response to the portrait and light direction.
Levels to adjust the light of the clothing.
Hue/Saturation to edit the tone, hue, and saturation of the clothing.
When complete, click OK.
1. To change clothing, go to menu Adjustmenst -> Change Clothing...

The Select Clothing dialog box will be displayed.

Select the category and the clothing that you would like to apply to the portrait, then click Select
2. The selected clothing will be applied over the portrait.

You can use the Free Transform tool to adjust the position, resize, and rotation of the clothing by moving the square box surrounding the clothing.

To resize the clothing, click and hold at one corner of the box, and move the mouse pointer to shrink or expand the size. To move the clothing, click and hold in the clothing area box, and move the mouse pointer to the desired position. To rotate the clothing, click and hold at the white circle in the box, and move the mouse pointer to the left or to the right to achieve the desired angle. When complete, click Enter, or double click to finish the transform process.
3. When the clothing is in the desired position:

Use the tools on the left toolbar to make furthur adjustment, if needed.
If the clothing exceeds the portrait skin, use the Delete Clothing tool to rub over the exceeding parts of the clothing.


If the original clothing exceeds the new clothing,

Use the Stamp Image tool to stamp over the background, and apply it over the exceeding orginal clothing. This will not have any effect on the new clothing.

However, you can use the History Brush to undo the erased areas. Another tool is the Stamp Clothing, which you can use to fix the clothing.
4. You can use the various menu functions on the right to manually adjust the clothing.

Change Clothing to select a new clothing.
Flip to either flip left or right in response to the portrait and light direction.
Levels to adjust the light of the clothing.
Hue/Saturation to edit the tone, hue, and saturation of the clothing.
When complete, click OK.
Labels:
Tutorial
Thanks for reading how to change clothes on Imaging Pro. Please share...!

0 Komentar untuk "how to change clothes on Imaging Pro"
Yang sudah mampir wajib tinggalkan komentar